Table of Contents
Zoiper Softphone Configuration
Prerequisites
- Download Zoiper Lite (Free) or Zoiper (Paid). The free version is excellent for most users.
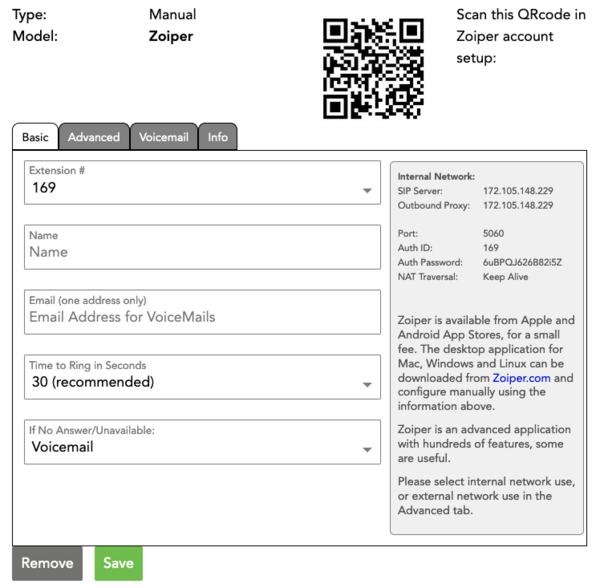
- Understand that you have less than 10 minutes to scan the QR code from your ring-u portal from the time it is generated.
- Adjustments in Port Forwarding / External Remote Phones will have to be completed before this extension will work.
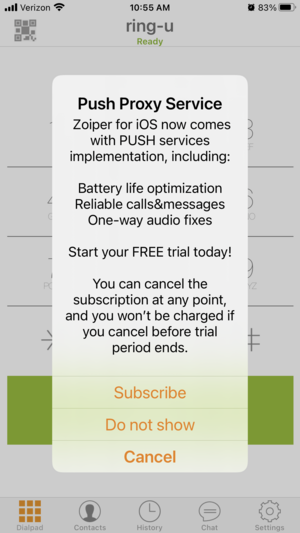
Also worth mentioning before you begin: Zoiper is easier on your phone's battery than Grandstream Wave, but offers you service buy-ups frequently upon startup.
Caveats
- Softphones are subject to your data connection (WiFi or cellular), and will never be as reliable as a desk phone.
- If using a WiFi network outside of your business or a cellular data connection, you may encounter network settings hostile to VOIP traffic (SIP ALG, DDOS, Carrier Grade NAT) that prevent your softphone extension from working effectively. This is outside of our control.
- Your softphone app should be restarted periodically to keep the app in good working order.
- Your smartphone should be power cycled periodically to keep any softphone functioning correctly.
- Mission-critical traffic should always be directed to desk phones inside of your network.
Step 1 - Add an Extension in the Portal
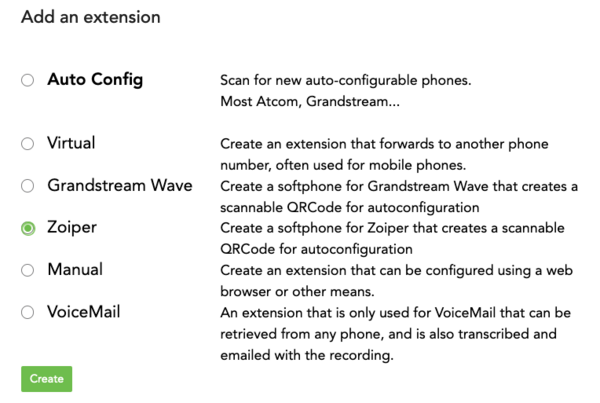
Go to: Configuration > Extensions and Add an Extension.
Select “Zoiper.”
Zoiper QR Code Generated
Step 2 - Open Your Zoiper App
There are usually 7 prompts involved in this process. If you answer incorrectly, you are generally best to delete the app, download again, and start this process over.
1. Network Permission - Answer “OK”
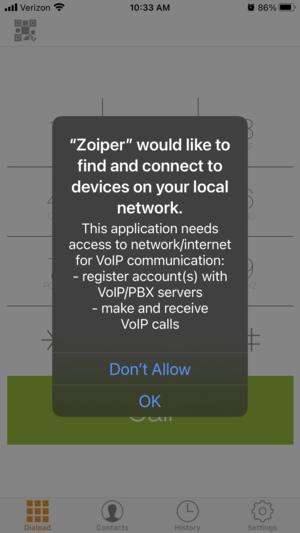
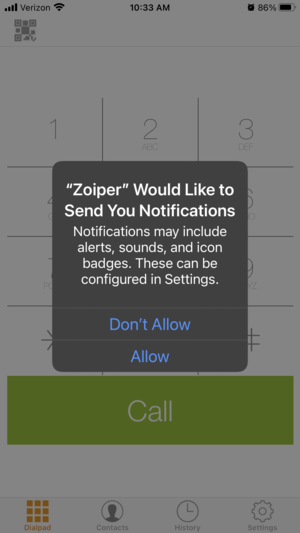
2. Notifications - Answer “Allow”
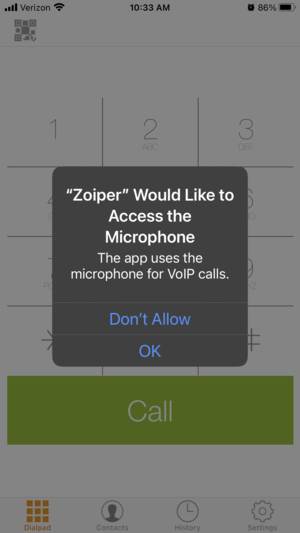
3. Microphone Permission - Answer “OK”
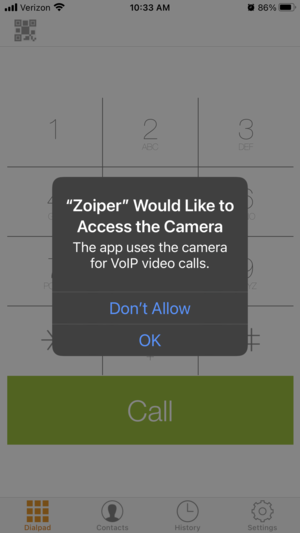
4. Camera Permission - Answer “OK”
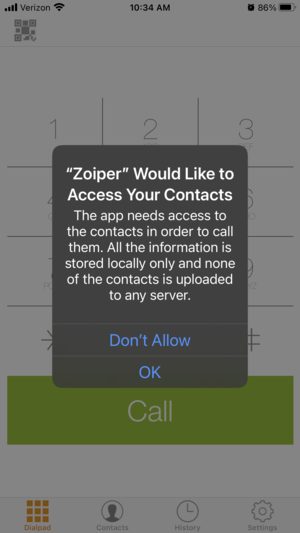
5. Contacts Permission - This one is up to you, but is not required unless you want access to your personal (non ring-u) contacts.
6. Scan QR Code (no screen shot)
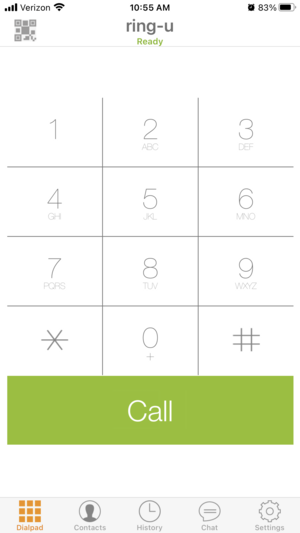
7. Configuration - Extension will take a few minutes to Configure, but will display a green “Ready” when complete.
8. Example of the buy-up messages.**
